Deploy SpringCloudPig Microservices
This article will guide you on how to deploy the complete Spring Cloud Pig microservices application on the Rainbond platform with one click.Through this tutorial, you will experience Rainbond's powerful microservices governance capabilities and convenient deployment process.
In this tutorial, we will deploy a complete Spring Cloud Pig application, including:
- Infrastructure: MySQL database, Redis cache
- Backend services: 7 Spring Cloud microservices components
- Frontend interface: Vue-based management interface
Prerequisites
- Installed Rainbond Quick Installation platform
- Minimum resource requirements:
4C 16G 100G
Deployment Steps
This tutorial is based on the Spring Cloud Pig jdk17 branch for deployment.
Deploy MySQL Database
Create MySQL component via source code
1.1 Go to the target team → New application → Build from source → Source code
- Component name: Custom (e.g., mysql)
- Component English name: Custom
- Repository address:
https://gitee.com/rainbond/pig.git - Subdirectory path:
db - Code branch:
v3.8.2
1.2 Configure MySQL Component Type
- Change the component deployment type to Stateful Service (Statefulset type)
- Next
1.3 Configure Component Port
- Click the default 3306 port, modify the port alias to
MYSQL - Ensure the Internal Service switch for this port is turned on
1.4 Configure Component Environment Variables
- Add environment variable:
- Variable name:
MYSQL_ROOT_PASSWORD - Variable value:
root
- Variable name:
- Add environment variable:
- Variable name:
MYSQL_ROOT_HOST - Variable value:
%
- Variable name:
1.5 Configure Component Storage
- Click the Storage tab
- Add storage volume:
- Storage volume name:
mysql-data - Mount path:
/var/lib/mysql - Storage volume type: Local storage
- Storage volume name:
1.6 Build Component
- Wait for the component to complete building and change to Running status
1.7 Verify MySQL Component
- Enter Web Terminal
mysql -uroot -proot # Connect to MySQL database
show databases; # View database list
use pig; # Switch to pig database
show tables; # View table list
select * from sys_user; # View user table data
exit; # Exit MySQL client
Deploy Redis
2.1 Install Redis from the App Store
- Go to the target team → Add component → Install from app store → Open source app store
- Enter
Redisin the search box to install version5.0.7
2.2 Confirm Redis Component Status
After installation, confirm that the Redis component is running normally:
- Check if the Redis component status is Running
- Go to component details page → Web Terminal, connect to Redis client
$ redis-cli -h ${REDIS_HOST} -p ${REDIS_PORT}
gr72321b:6379> set test test
OK
Deploy Pig Backend Services
3.1 Create Pig Backend Service Component via Source Code
Create Pig backend component via source code, fill in the following information:
- Component name: Custom
- Component English name: Custom
- Repository address:
https://gitee.com/rainbond/pig.git - Code branch:
v3.8.2
3.2 Configure Multi-module Build
The system will automatically detect multiple microservice modules. On the multi-module build page:
- Select the following modules and create:
- pig-register (Nacos Registry)
- pig-gateway (Gateway Service)
- pig-auth (Authentication Service)
- pig-upms/pig-upms-biz (User Permission Management)
- pig-visual/pig-codegen (Code Generator)
- pig-visual/pig-monitor (Monitoring Service)
- pig-visual/pig-quartz (Scheduled Tasks)
After creating the above modules, you need to modify the build source information. Before clicking the Confirm Build button, cancel the Build and Start option, otherwise it will automatically build
3.3 Modify Build Source JDK Version
For each component, modify the build source JDK version to 17:
- Go to component details page → Build source → Source build parameter settings
- Change JDK version to
17 - Confirm changes
3.4 Configure microservice ports and aliases
Configure the correct port for each microservice component:
- Enter the port settings for each component
- Delete the default generated port
- Add the dedicated port required for each component, set the port alias, and open the internal port service:
| Component | Port | Port alias |
|---|---|---|
| pig-register | 8848, 9848, 9849 | 8848 port alias: NACOS |
| pig-gateway | 9999 | Port alias: GATEWAY |
| pig-auth | 3000 | - |
| pig-upms-biz | 4000 | - |
| pig-codegen | 5002 | - |
| pig-monitor | 5001 | - |
| pig-quartz | 5007 | - |
3.5 Build component dependencies
Use Rainbond's visual orchestration feature to establish dependencies between components:
- Enter the application view → switch to orchestration mode
- As shown below, drag and connect each component to establish dependencies:
- Configure the
pig-registercomponent to depend on theMySQLcomponent
- Configure all microservice components to depend on
MySQL,Redis,pig-registercomponents
Through Rainbond's dependency settings, environment variables are automatically injected into dependent services, greatly simplifying configuration management between microservices.
3.6 Build components
- Enter the application view → list → select all microservice components, click the batch build button
- After the build is successful, enter the component details page, click the start button to start the component
4. Deploy Pig-UI frontend
4.1 Create frontend components
Create frontend components through source code, fill in the following information:
- Component name: custom (e.g.: pig-ui)
- Component English name: custom
- Repository address:
https://gitee.com/rainbond/pig-ui.git - Code branch:
v3.8.2
4.2 Configure build method
- Code language:
NodeJSStatic - Package manager:
npm - Packaging directory:
dist
4.3 Configure Node version
- Configure Node version to
18.16.0
4.4 Add configuration file
- Add configuration file
- Configuration file name: custom (e.g.: nginx-config)
- Configuration file path:
/app/nginx/conf.d/web.conf - Configuration file content:
server {
    listen 5000;

        gzip on;
        gzip_static on; # Requires http_gzip_static_module module
        gzip_min_length 1k;
        gzip_comp_level 4;
        gzip_proxied any;
        gzip_types text/plain text/xml text/css;
        gzip_vary on;
        gzip_disable "MSIE [1-6]\.(?!._SV1)";

        # Default directory for frontend packaged dist
        root /app/www;

        # Pay attention to maintaining new microservices, gateway routing prefix
        location ^~/api/ {
          proxy_pass http://${GATEWAY_HOST}:9999/; #Note the / suffix
          proxy_connect_timeout 60s;
          proxy_read_timeout 120s;
          proxy_send_timeout 120s;
          proxy_set_header X-Real-IP $remote_addr;
          proxy_set_header X-Forwarded-For $proxy_add_x_forwarded_for;
          proxy_set_header X-Forwarded-Proto http;
          proxy_http_version 1.1;
          proxy_set_header Upgrade $http_upgrade;
          proxy_set_header Connection "upgrade";
          proxy_set_header Host $http_host;
          proxy_set_header from "";
        }

        # Block all sensitive paths, no need to modify the code
        location ~_ ^/(actuator|swagger-ui|v3/api-docs|swagger-resources|webjars|doc.html) {
          return 403; # Forbidden
        }
    }
4.5 Confirm build components
4.6 Configure dependencies
- Enter the component application view → switch to orchestration mode
- Connect the
pig-uicomponent to thepig-gatewaycomponent to establish dependencies
- Update the
pig-uicomponent to complete the deployment
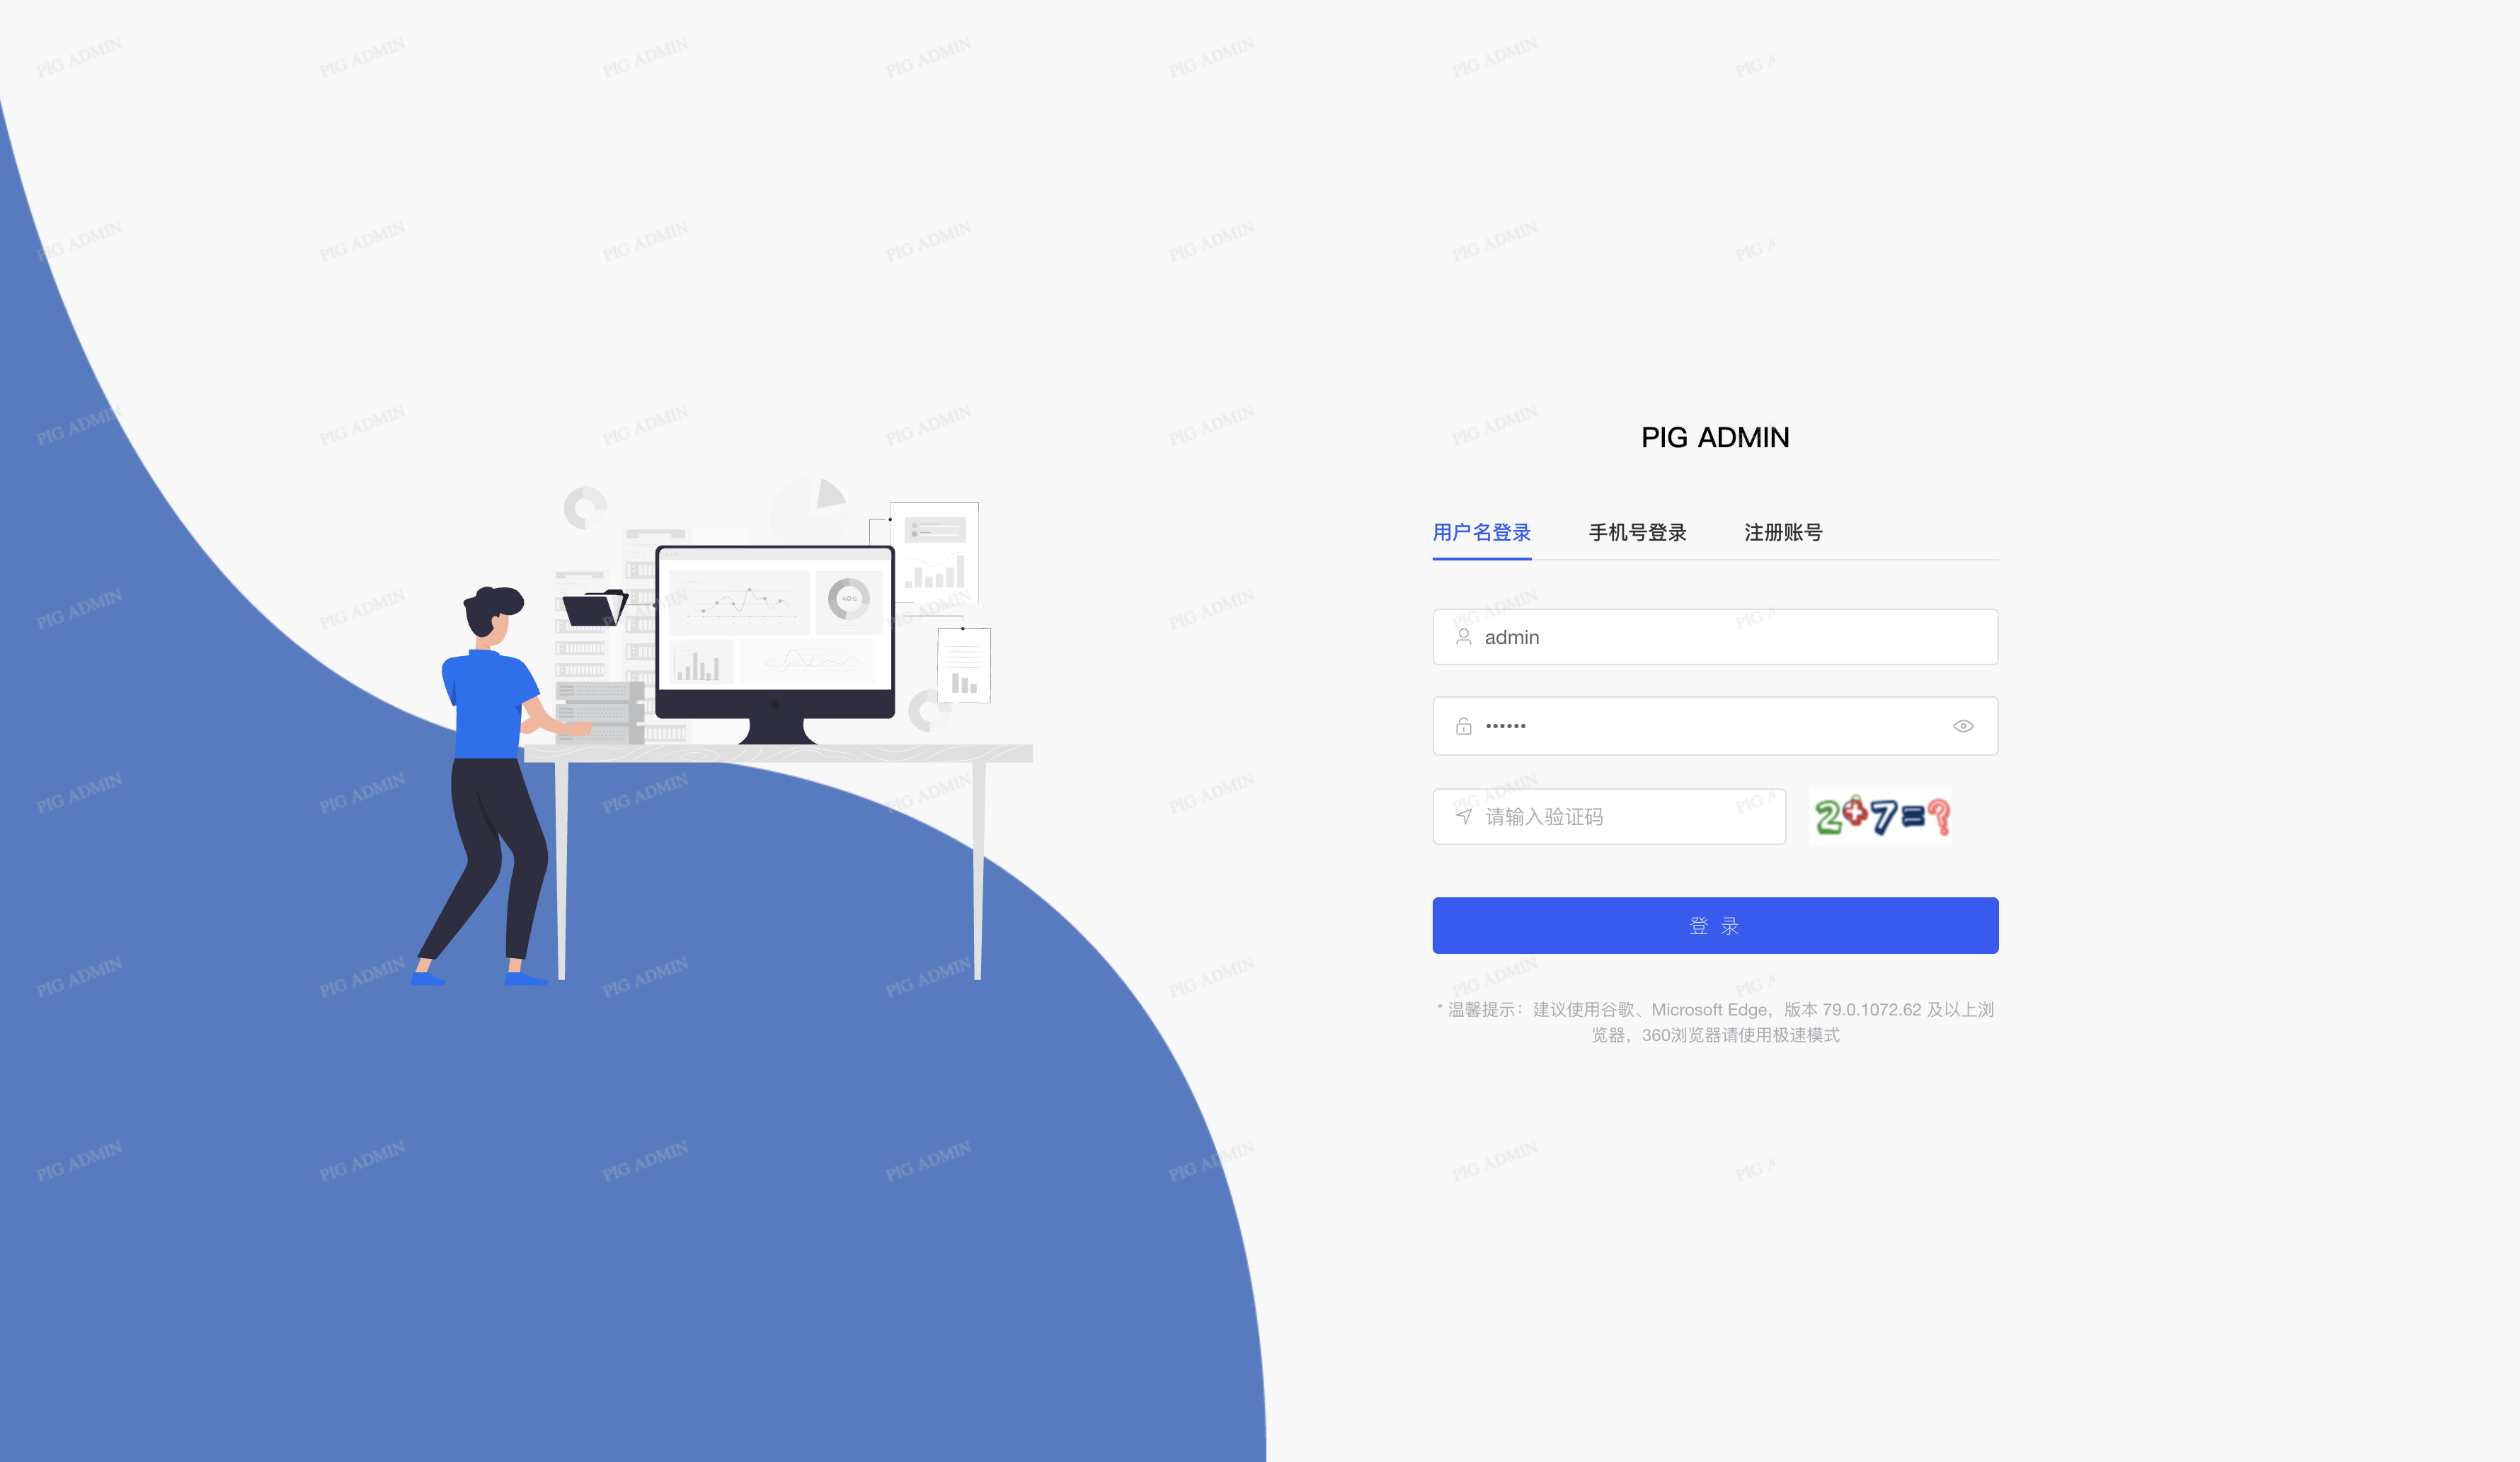
5) Access and verification
Get access address
- Enter the
pig-uicomponent details page - Find the access address for external services in the port information
- Click the access address or copy and open it in the browser
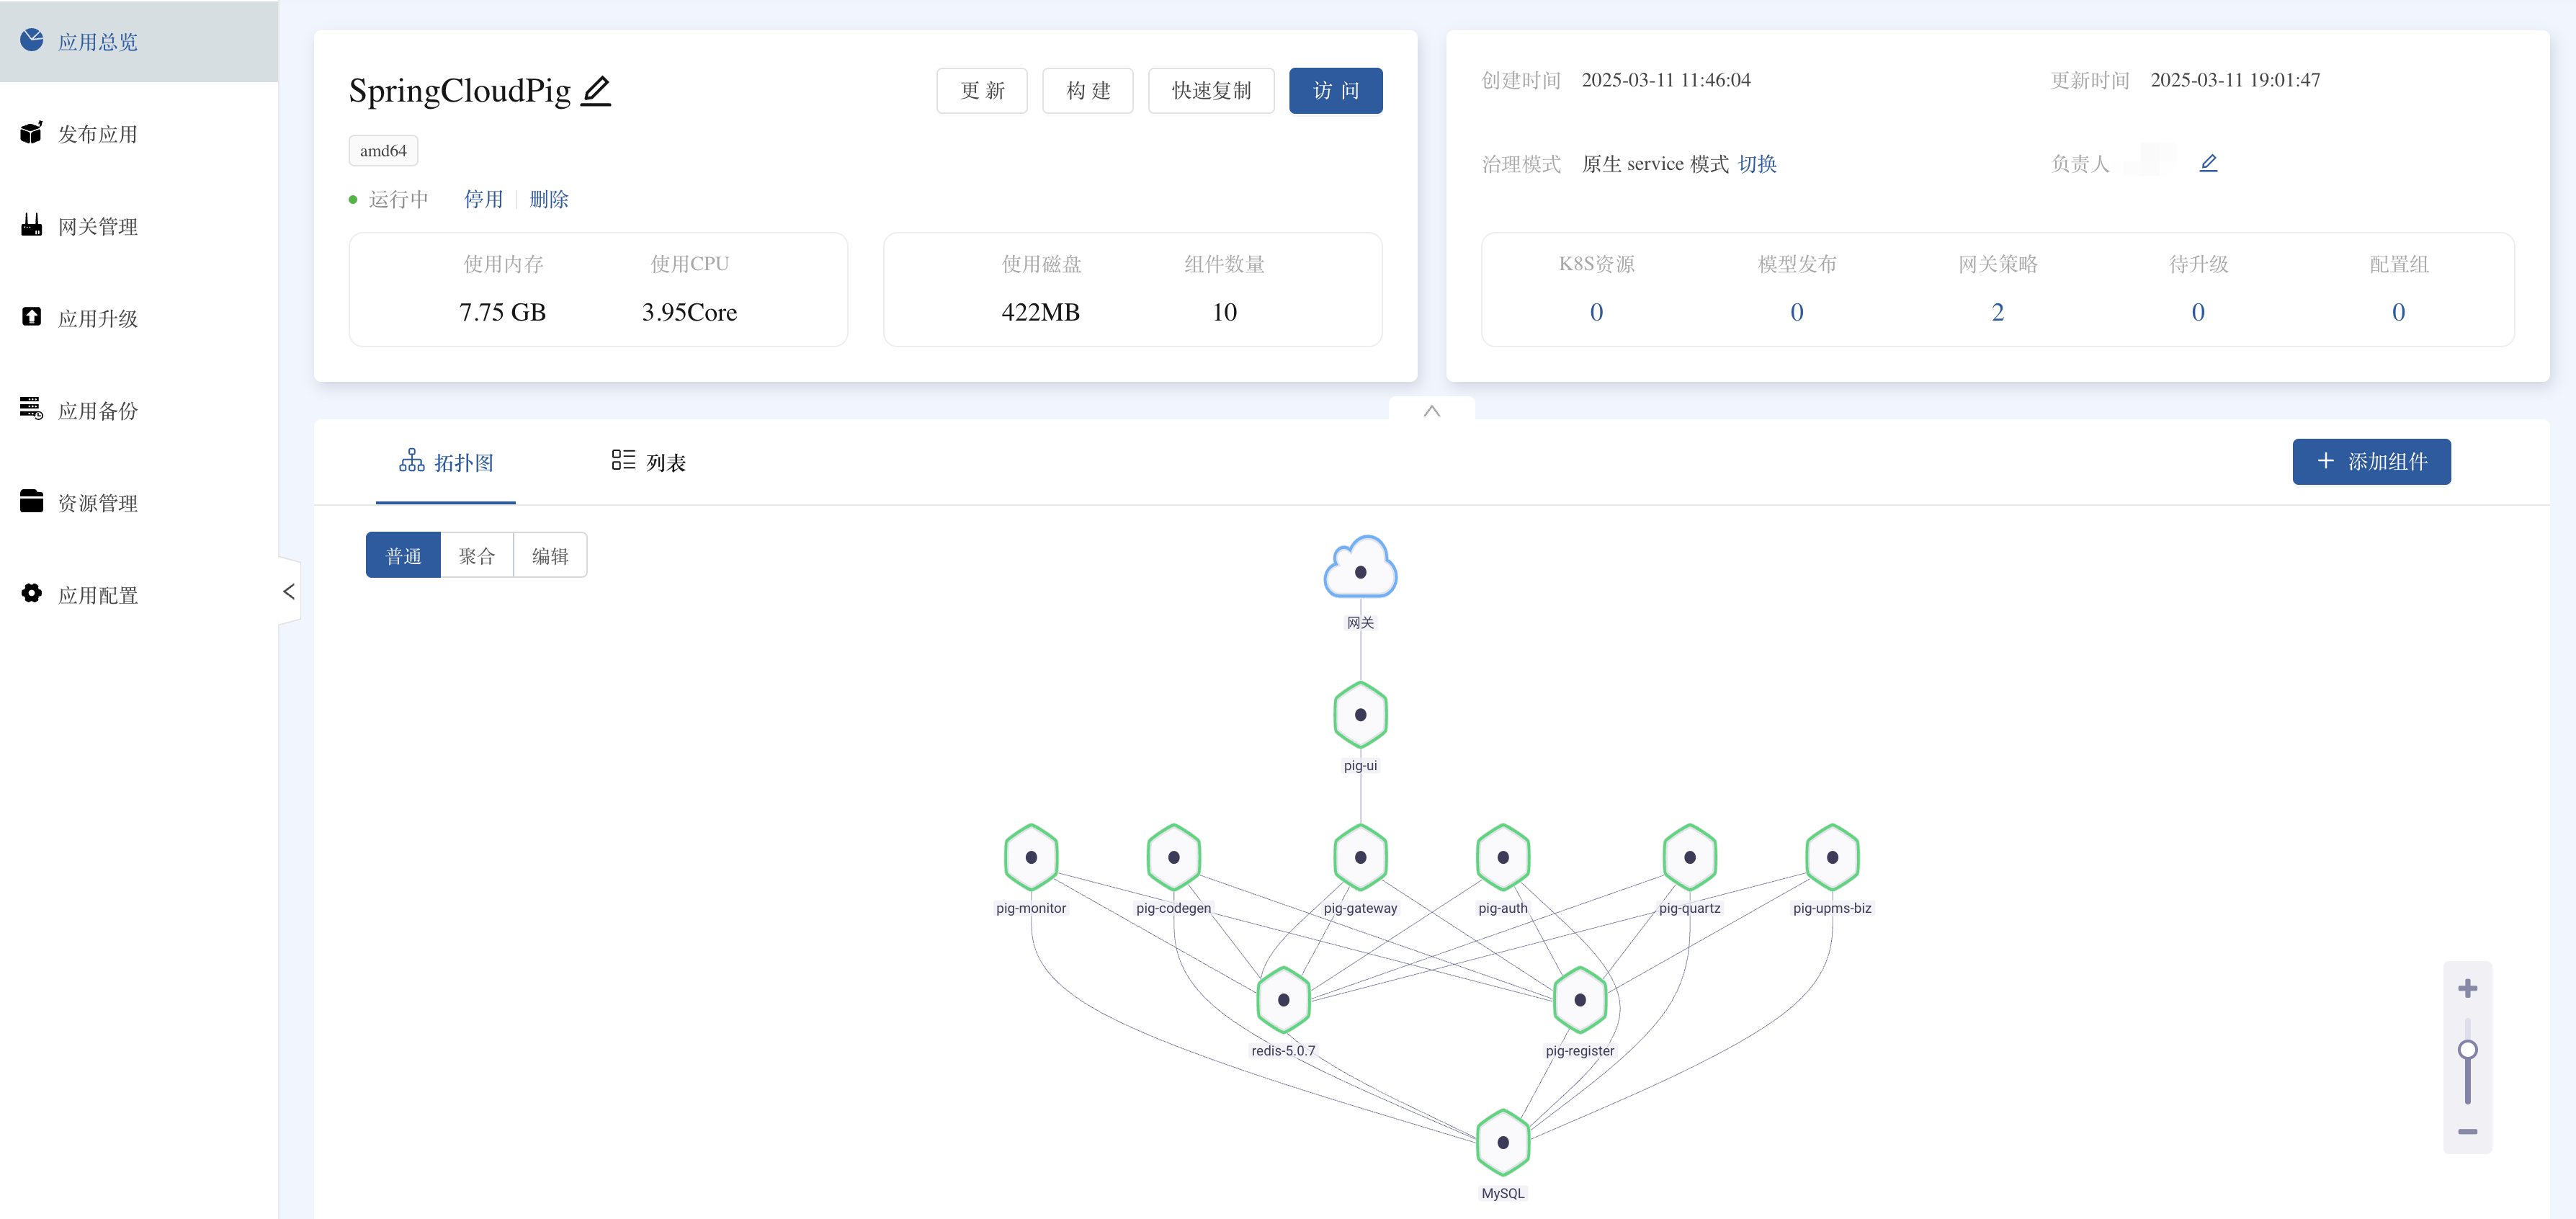
Final deployment effect
After successful deployment, you will get a complete microservice application, as shown in the following figure:
Common problem troubleshooting
Q1: Front-end access to back-end service error?
Check the proxy configuration in the Nginx configuration file to ensure that the gateway address and port are correct.
Q2: Database connection failed?
Check the database configuration in Nacos to ensure that the MySQL component has been started normally and the dependencies have been correctly established.